Space design & 3D visualisation
See the room before you build it.
We design homes, offices and shops in 3D and render them photoreal. You judge the layout, the materials and the light on screen, while a change is still quick and cheap.

Why render first
Find the mistakes on screen, not on site.
A cabinet that stops a door from opening. A lamp that glares off a screen. A colour that looked right on the swatch and wrong on four walls. In a model, each one takes minutes to fix. On site, each one costs materials and days.
Measured to the millimetre.
Every wall, opening and pipe is drawn from site measurements.
Lit for morning and for night.
Each room is rendered in daylight with the lights off, and in the evening with them on.
Drawn so a carpenter never has to guess.
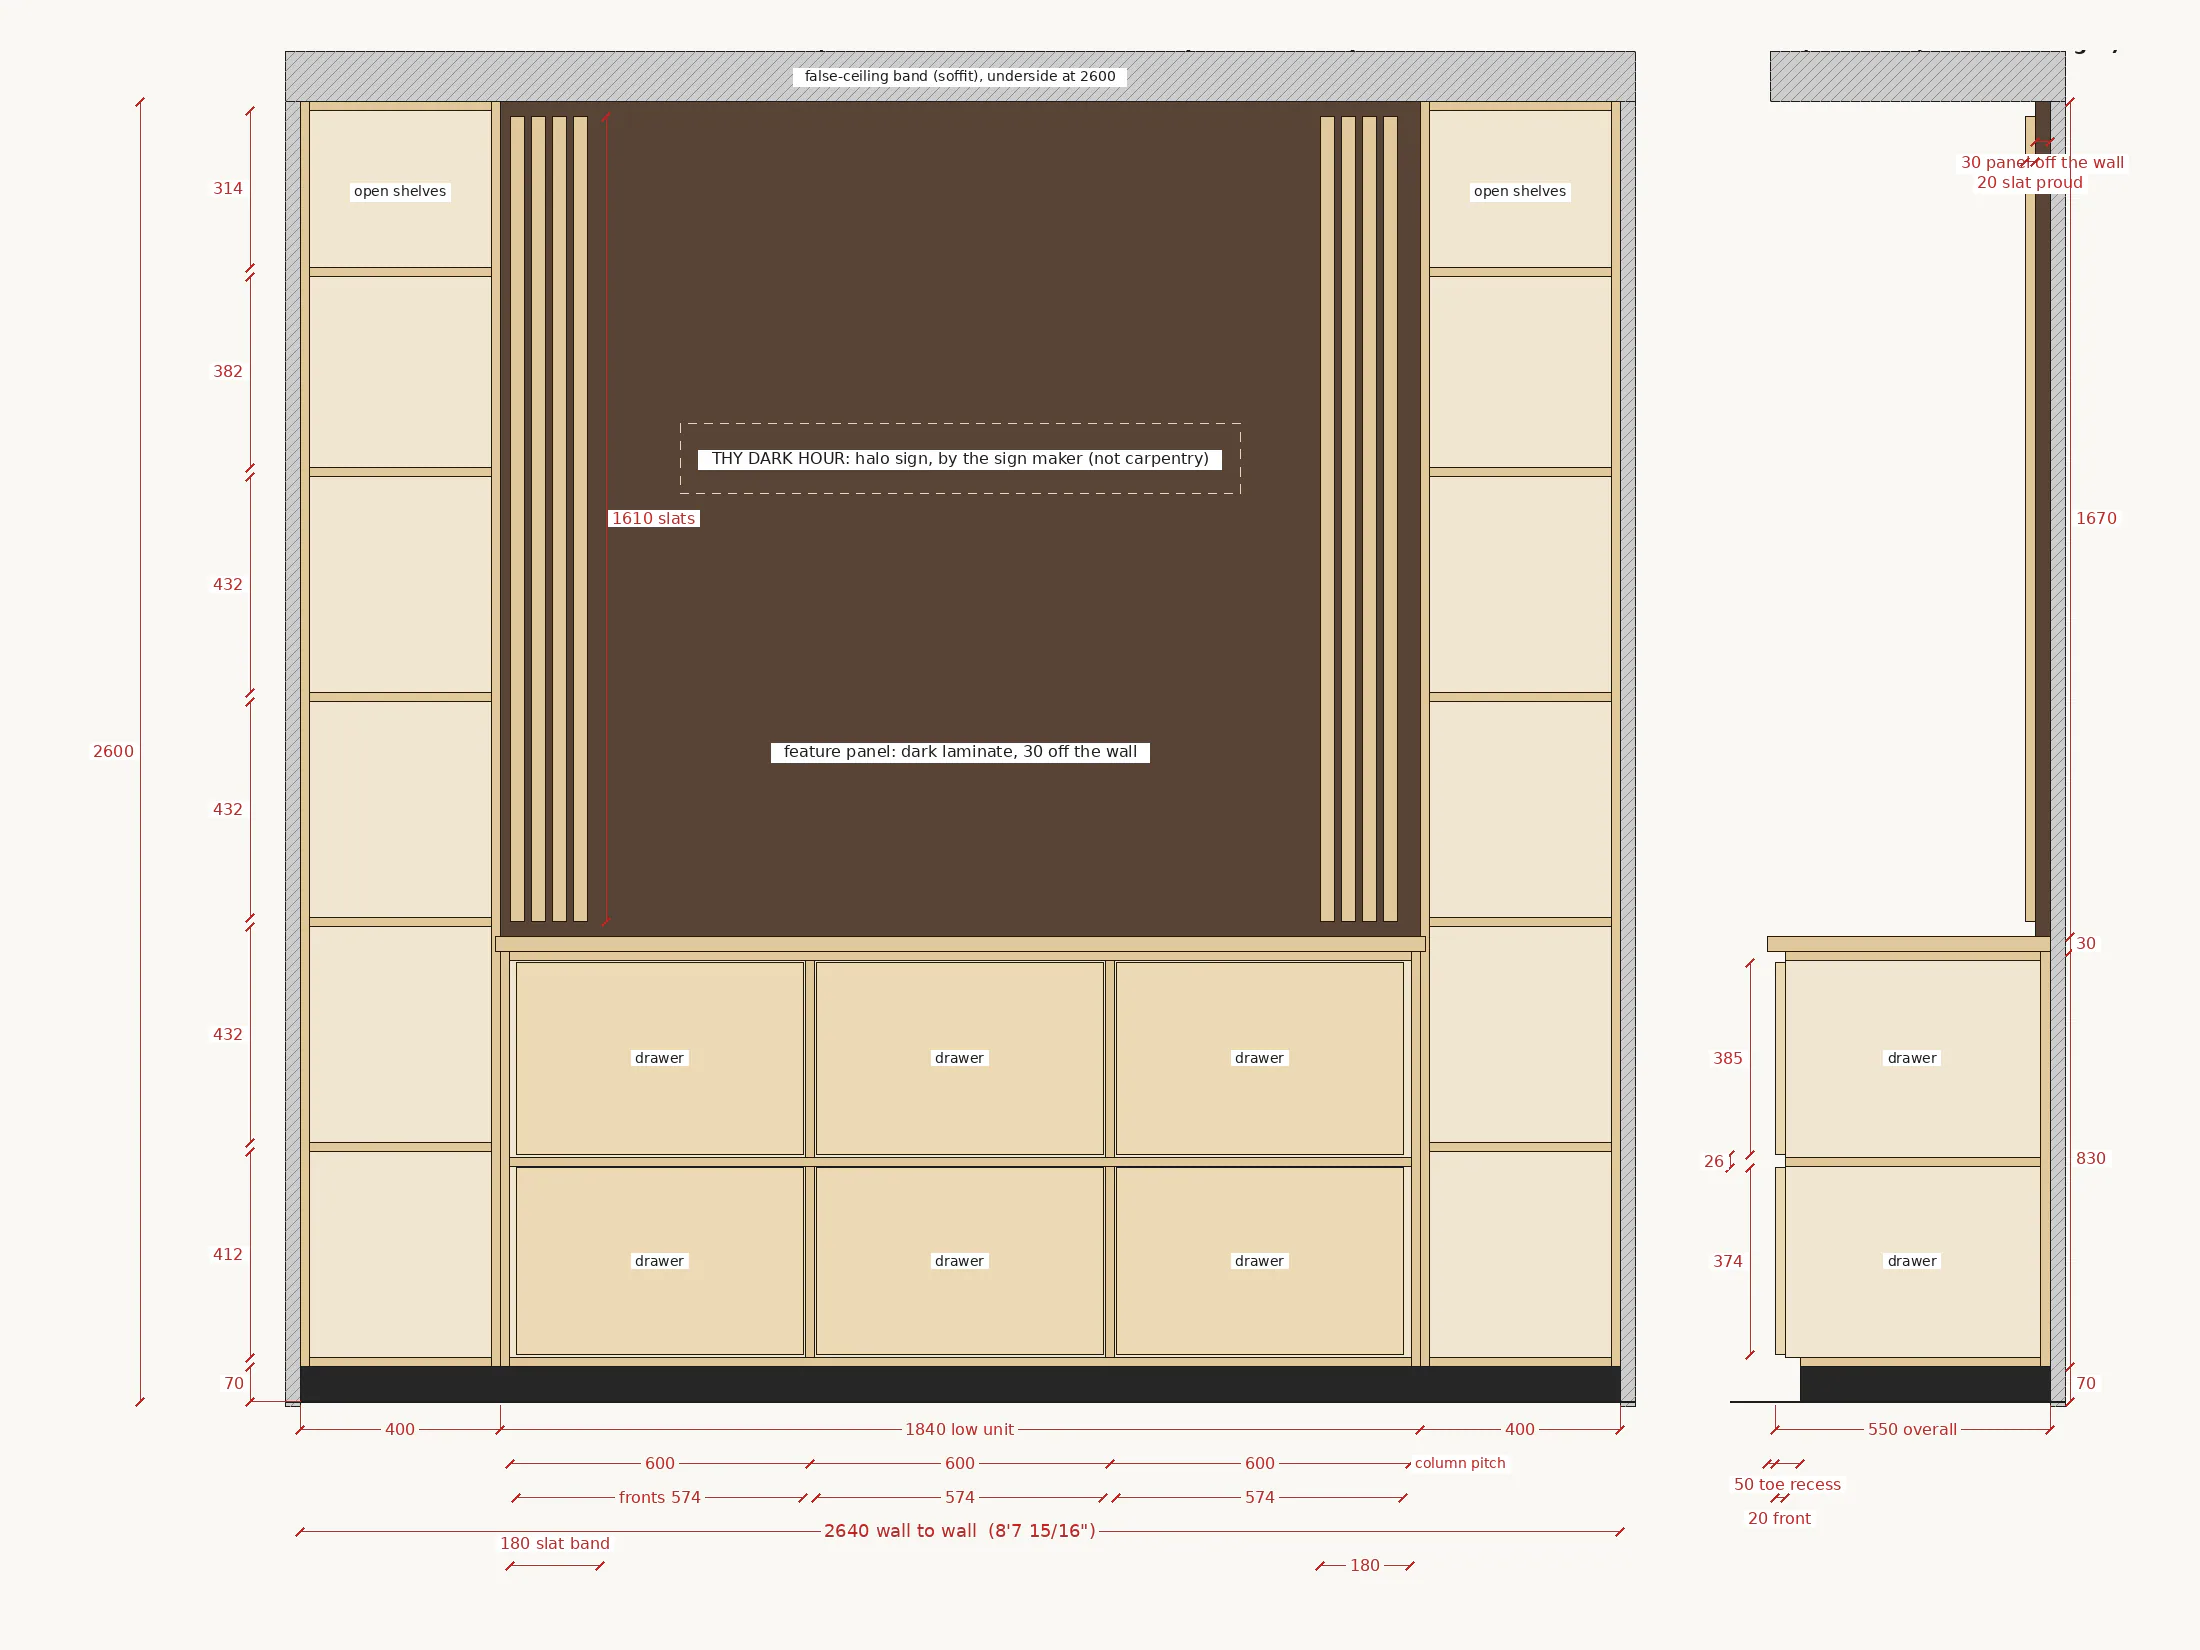
Every number the build needs is on a drawing, not left to the render.


How it works
From a tape measure to a set of drawings.
Six steps, in this order. Nothing moves on until you are happy with the step before.
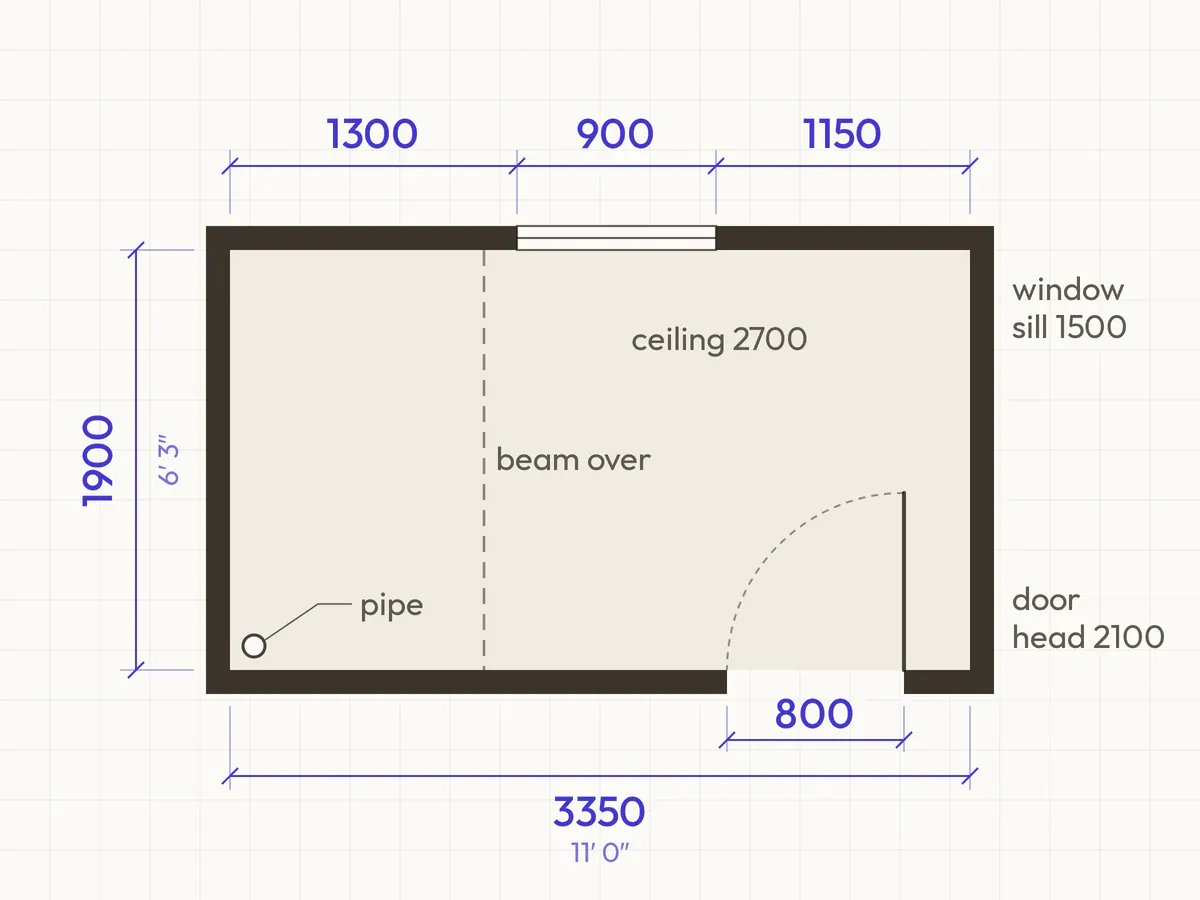
Step 1: Measure
We measure the room, or work from your plans, and note every door, window, beam and pipe.
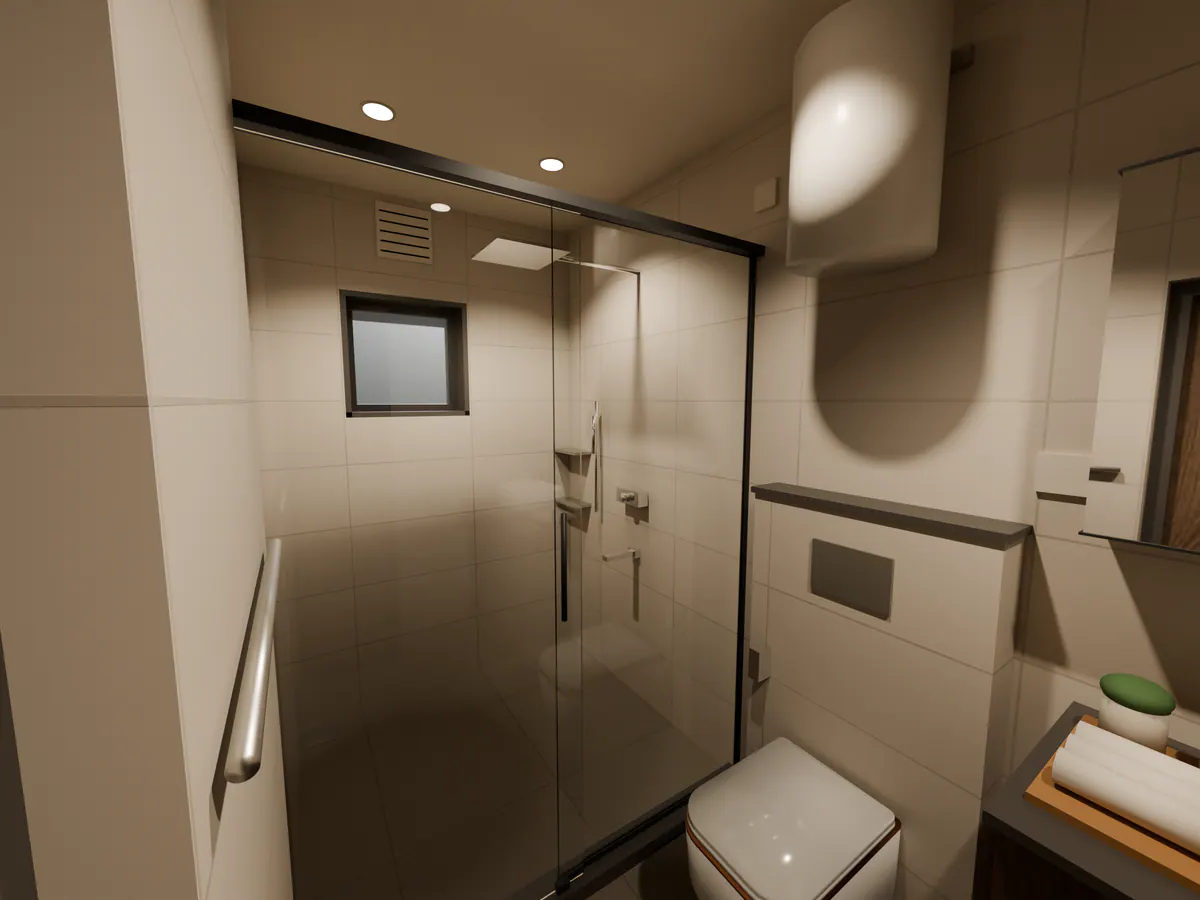
Step 2: Model
We build the room in 3D to those numbers, with your furniture and fittings at their real sizes.
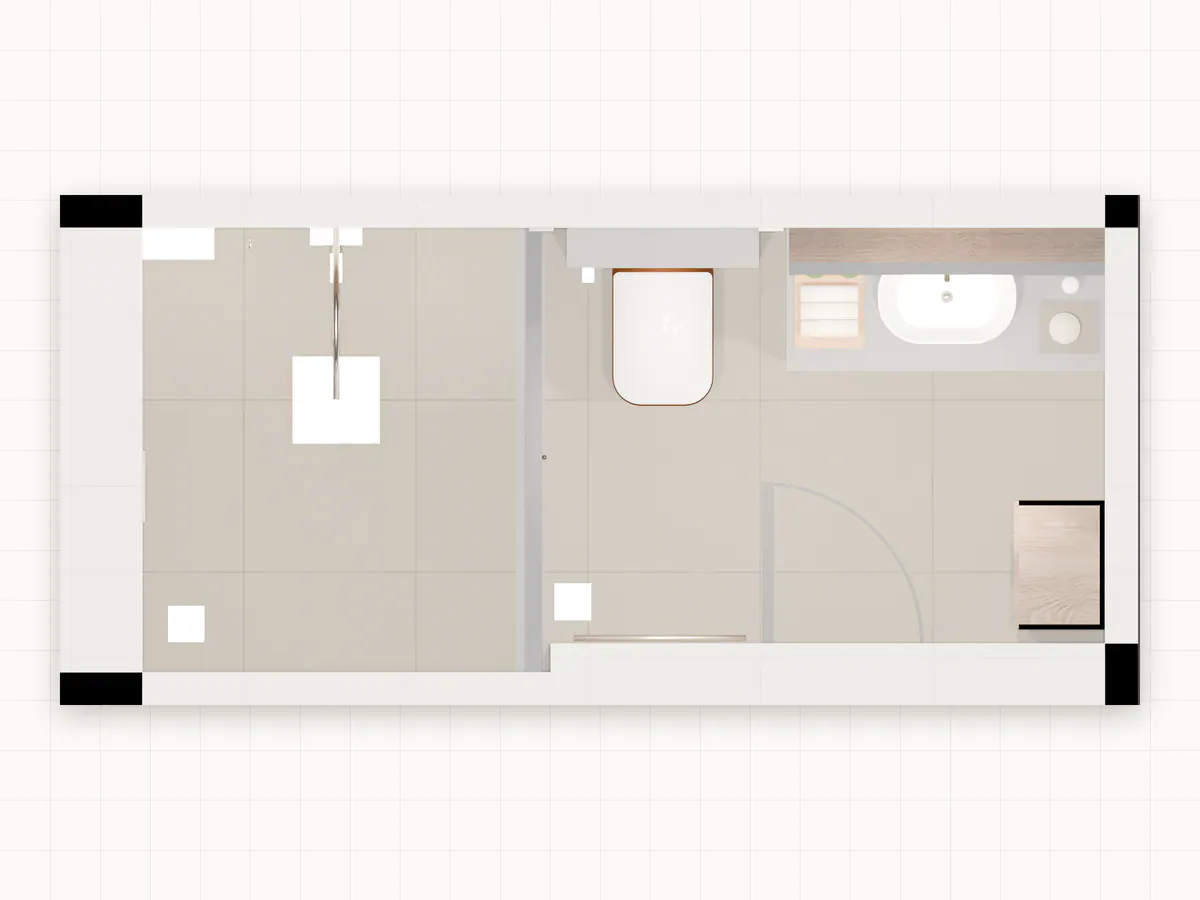
Step 3: Check
We test the plan before anything is chosen for looks: door swings, legroom, walkways and reach.
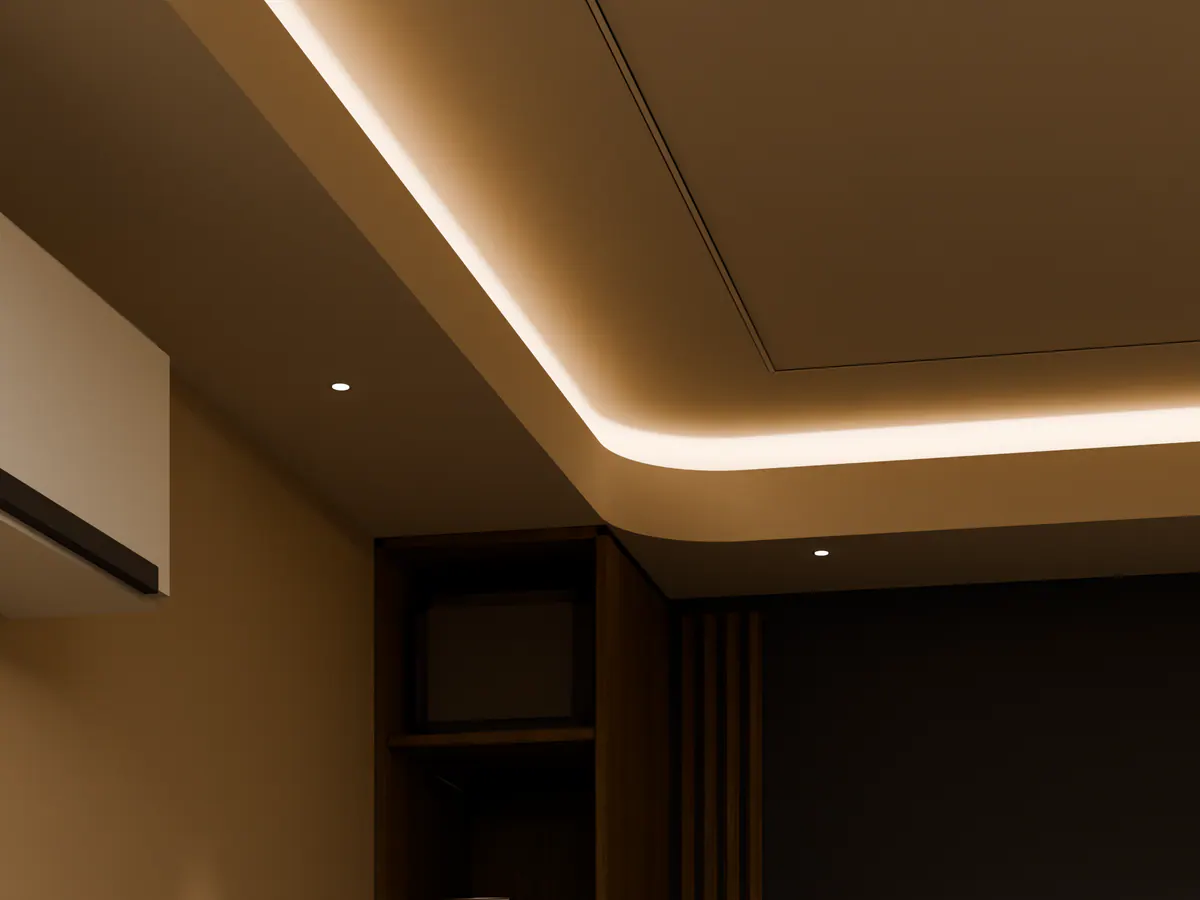
Step 4: Light
We light it twice: daylight with the lights off, and evening with them on.
Step 5: Shoot
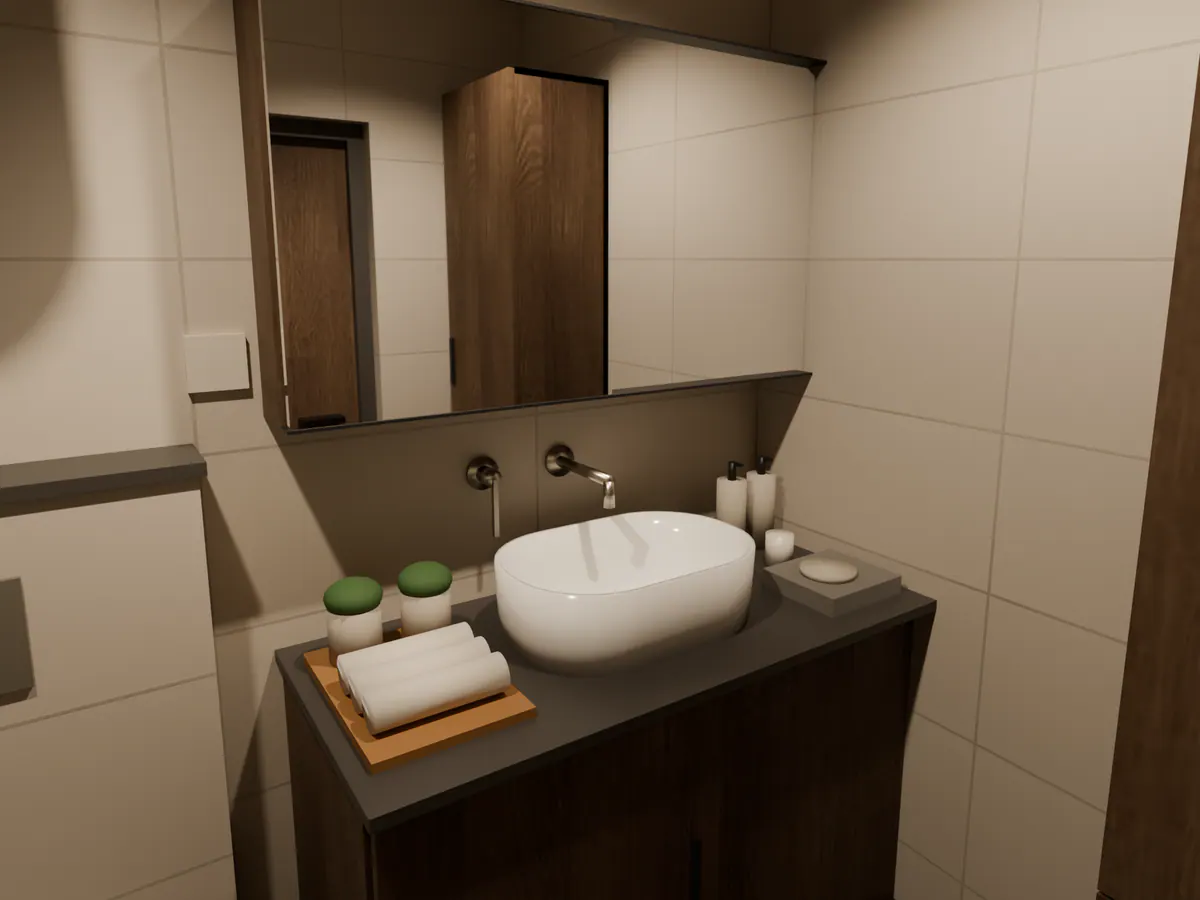
We render the views you will actually see: from the doorway, from your chair, from the sofa.
Step 6: Hand over
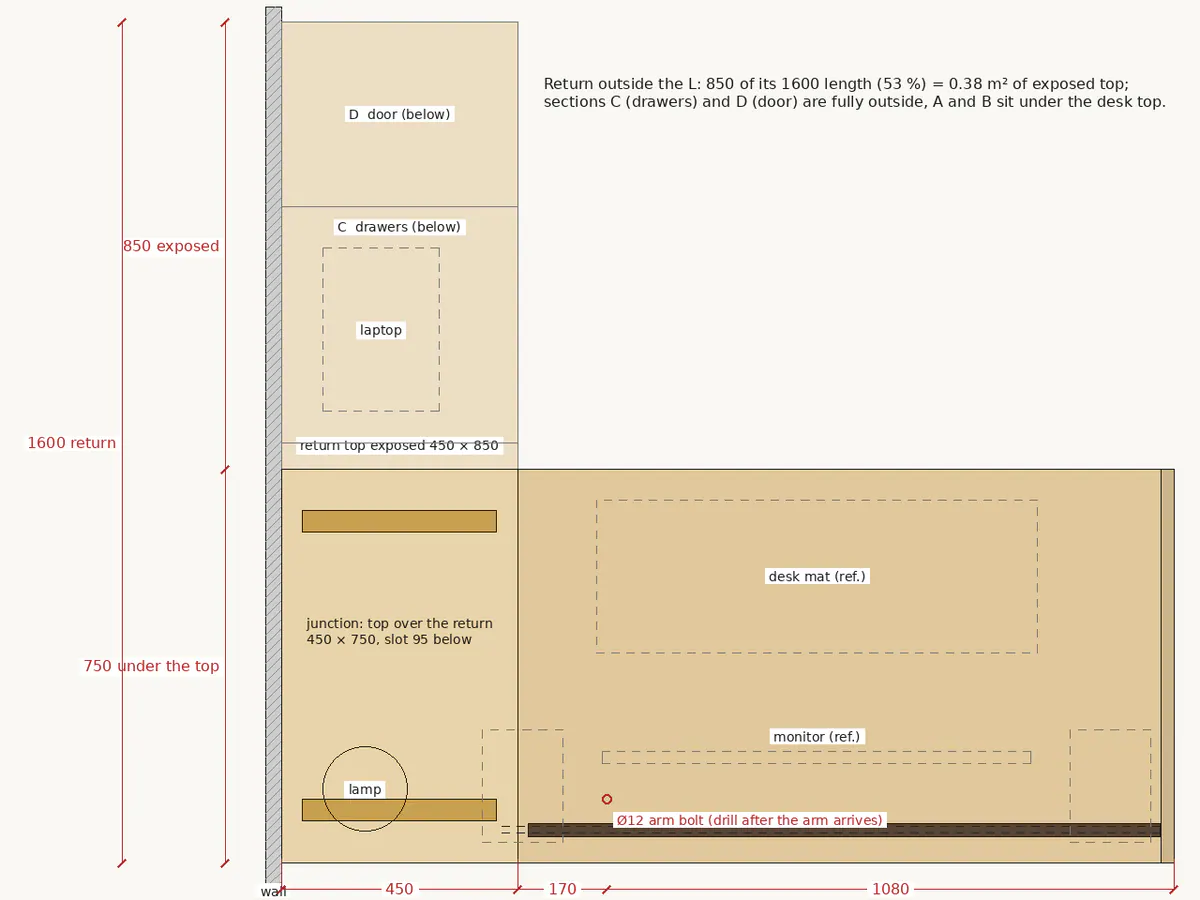
Drawings for each trade in mm and ft-in, with cut lists and finish maps.

We light a room the way a film lights a scene.
Our founder trained as a cinematographer, with an MFA from the New York Film Academy and awards for cinematography on short films. So every view is framed from a real eye line, and every light is placed for a reason.
About the founderConcept design · Office, evening
Revisions
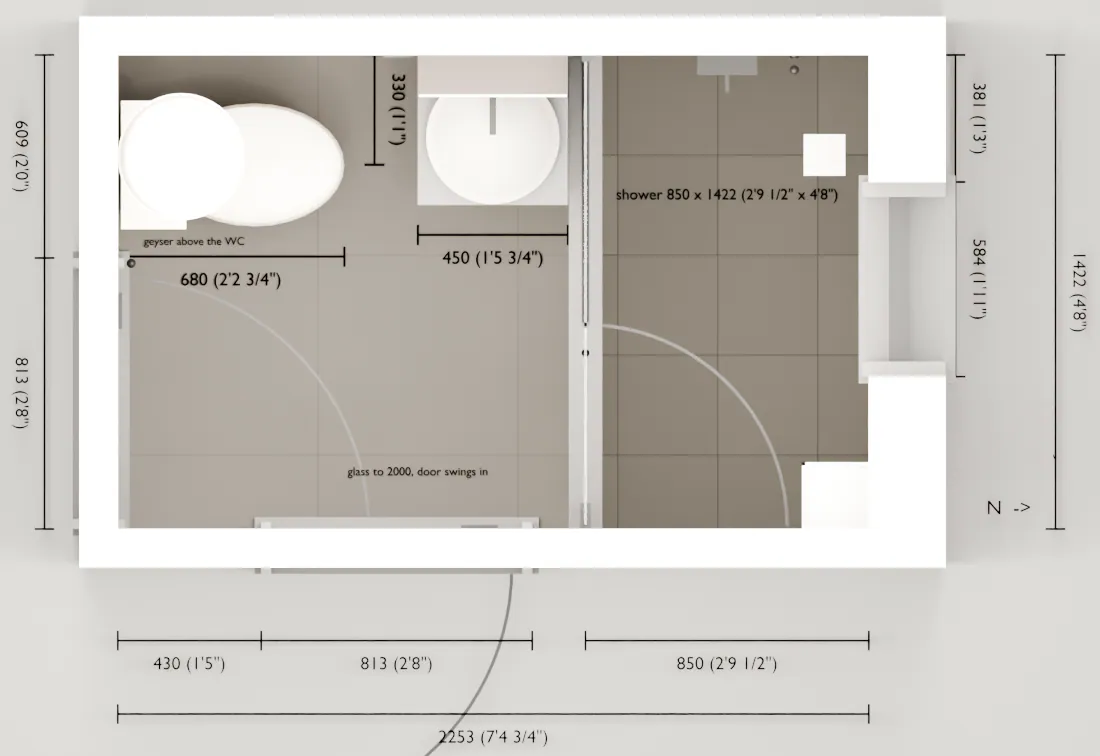
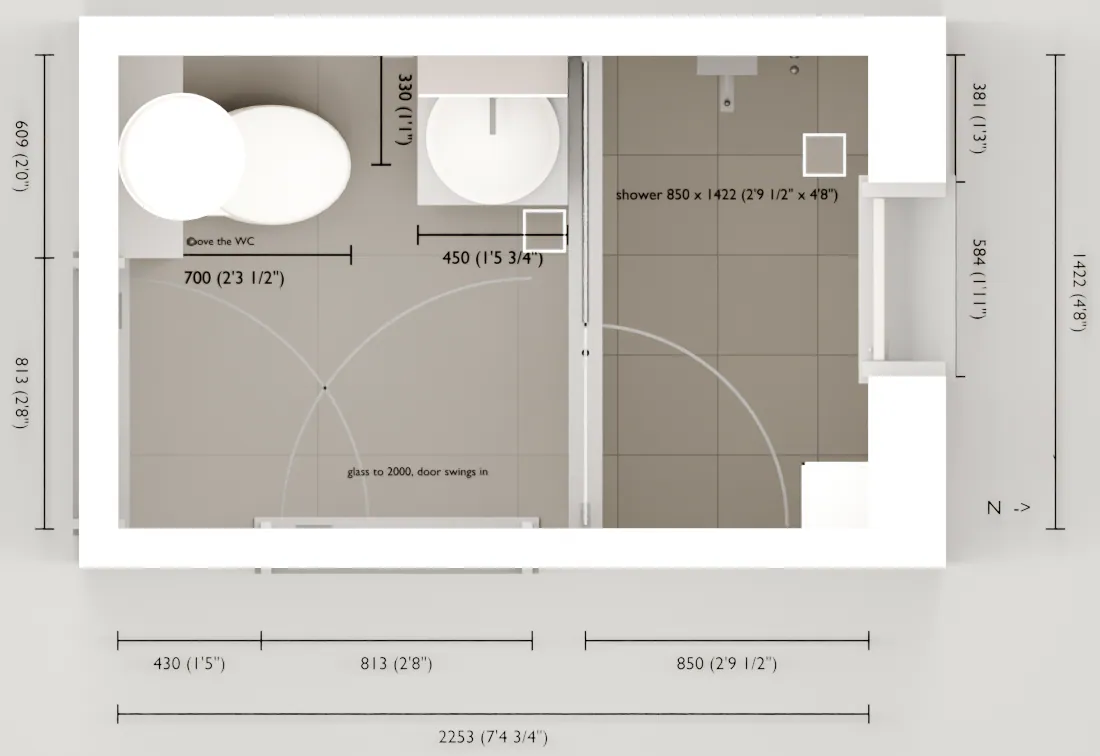
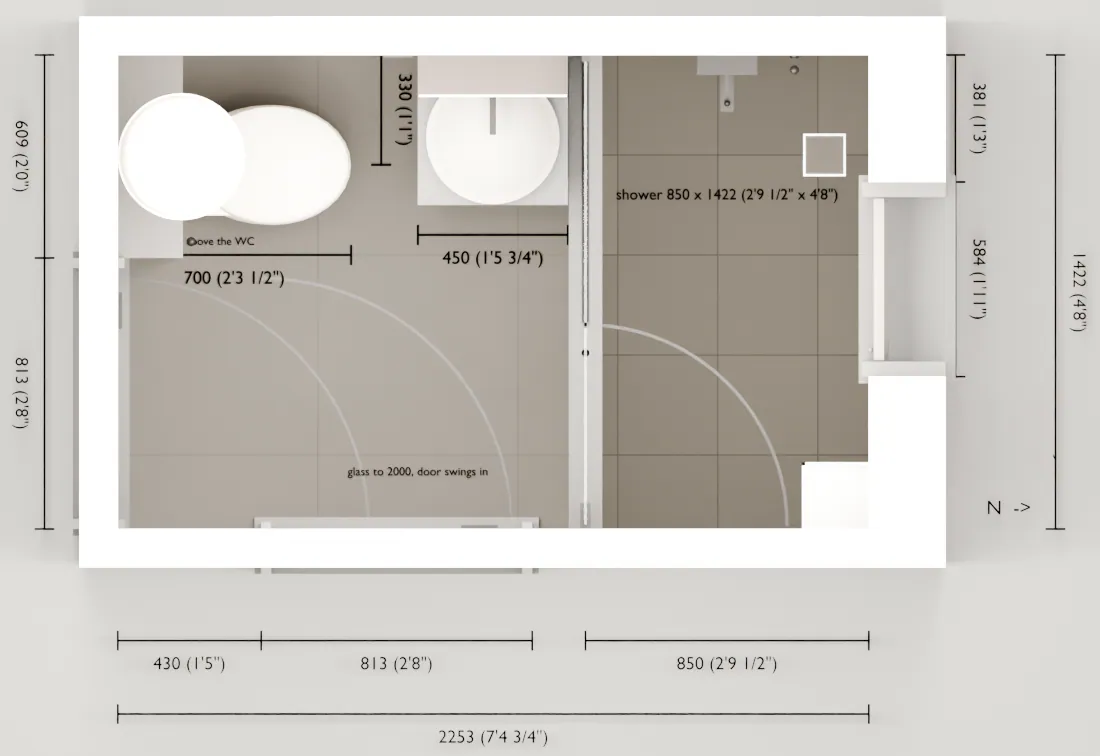
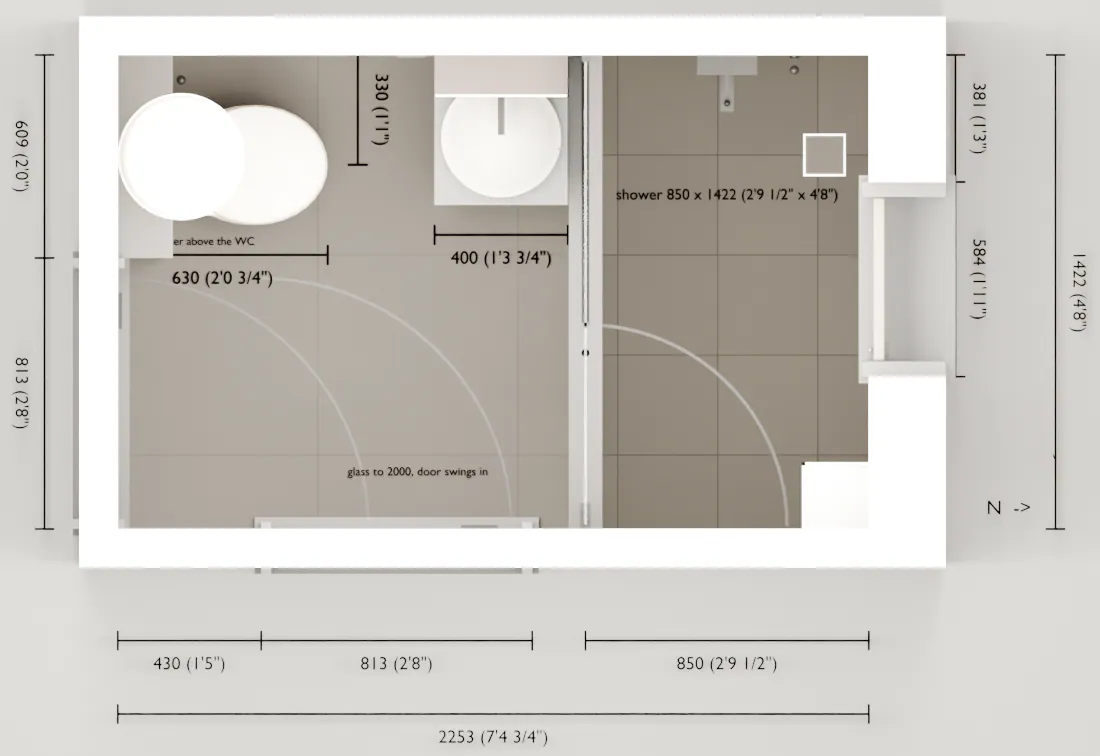
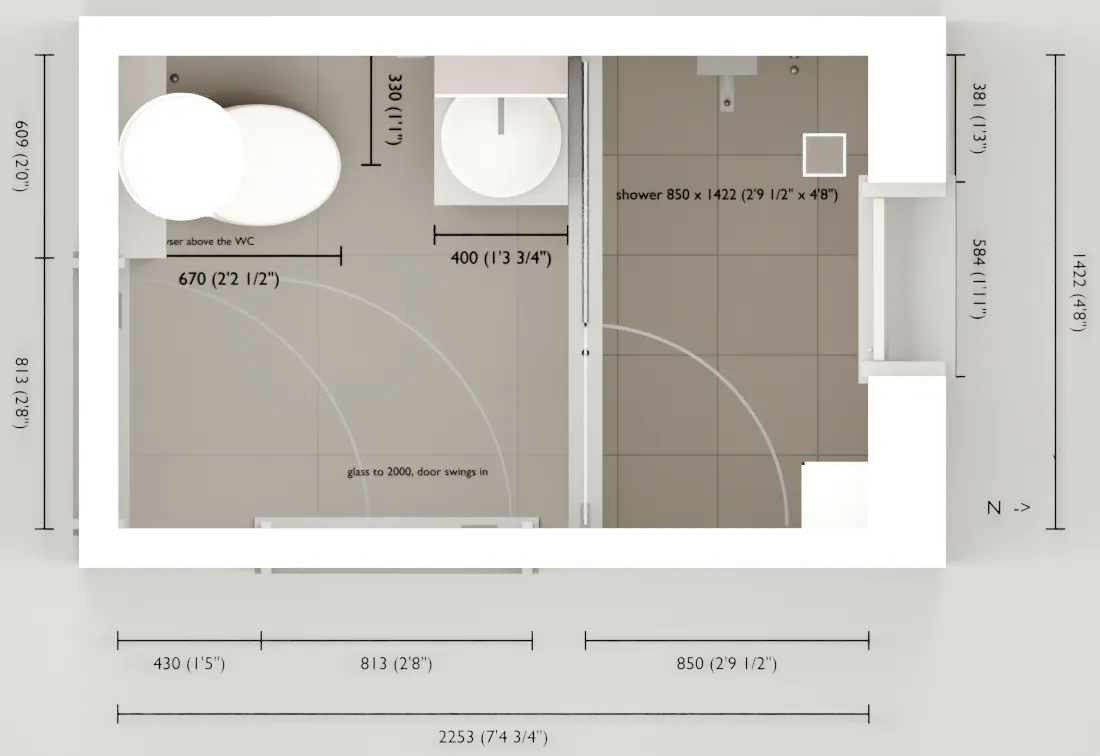
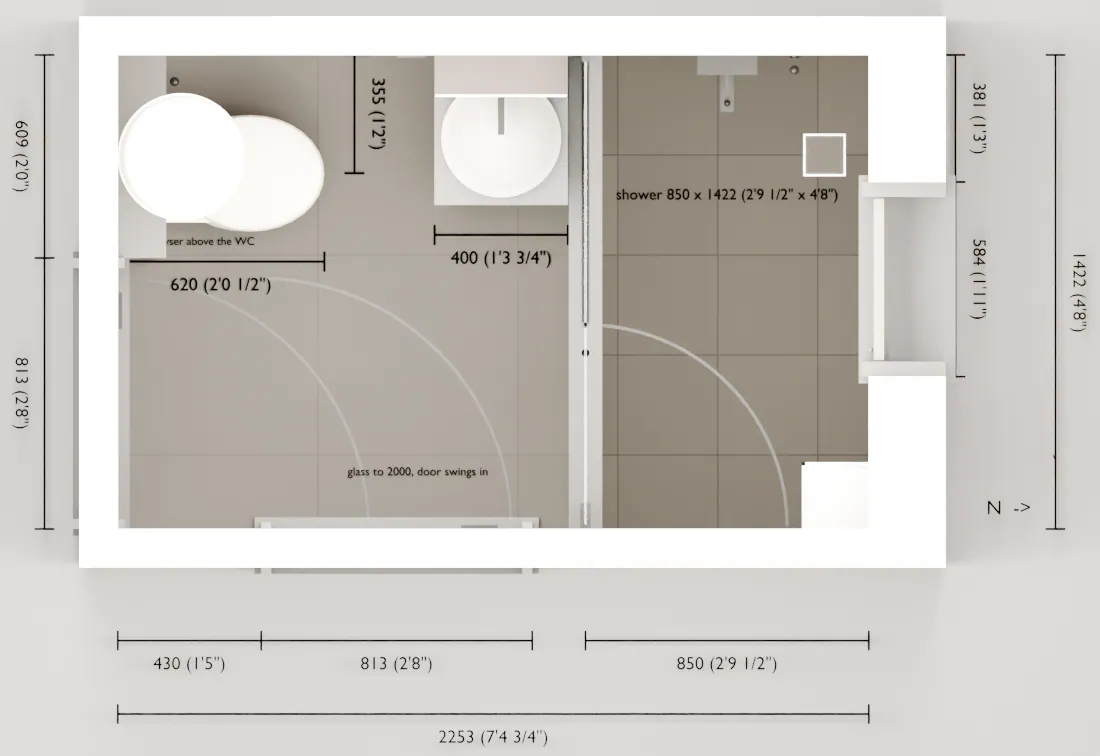
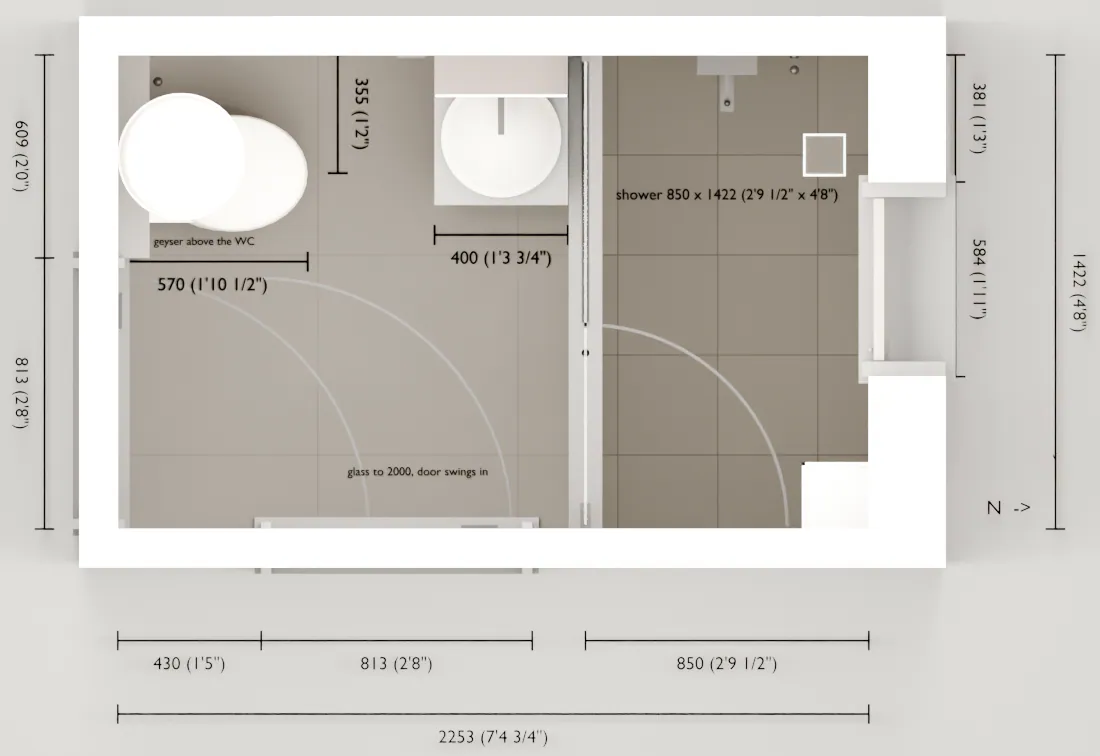
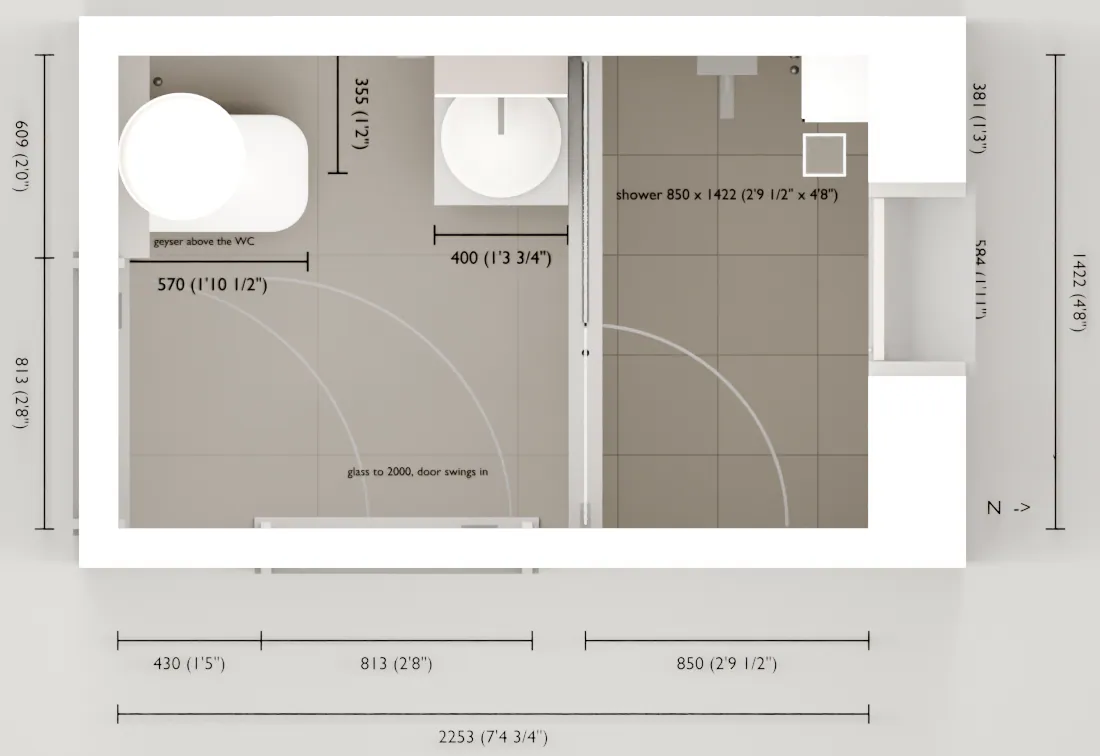
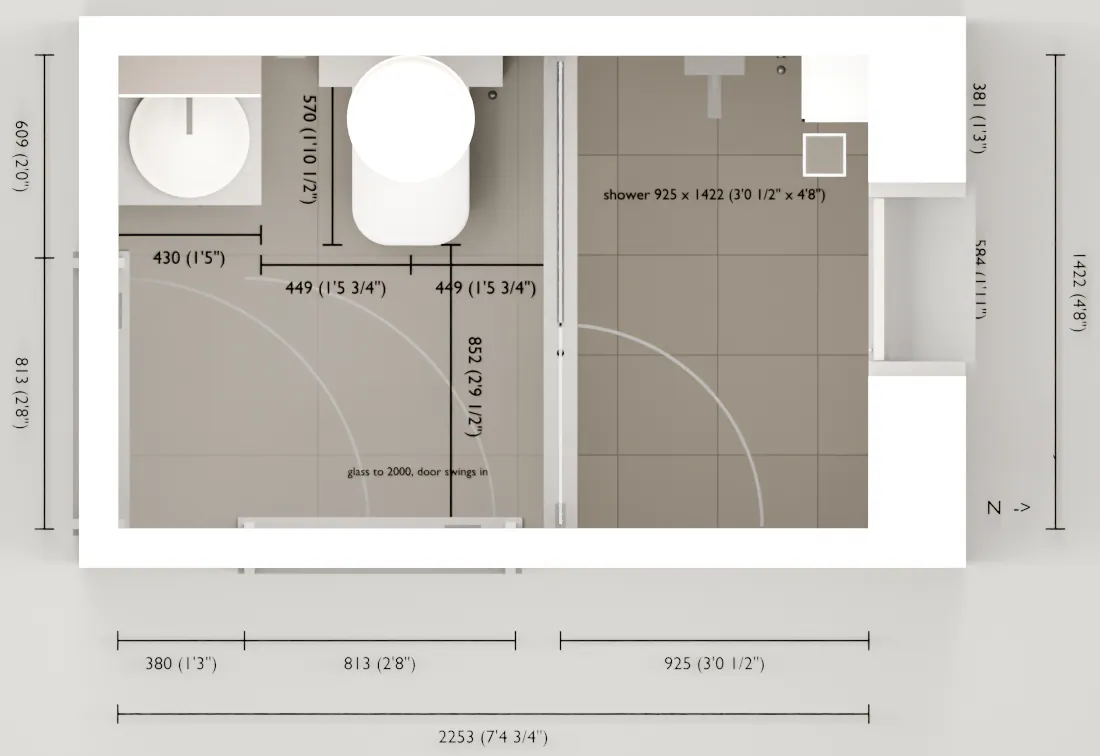
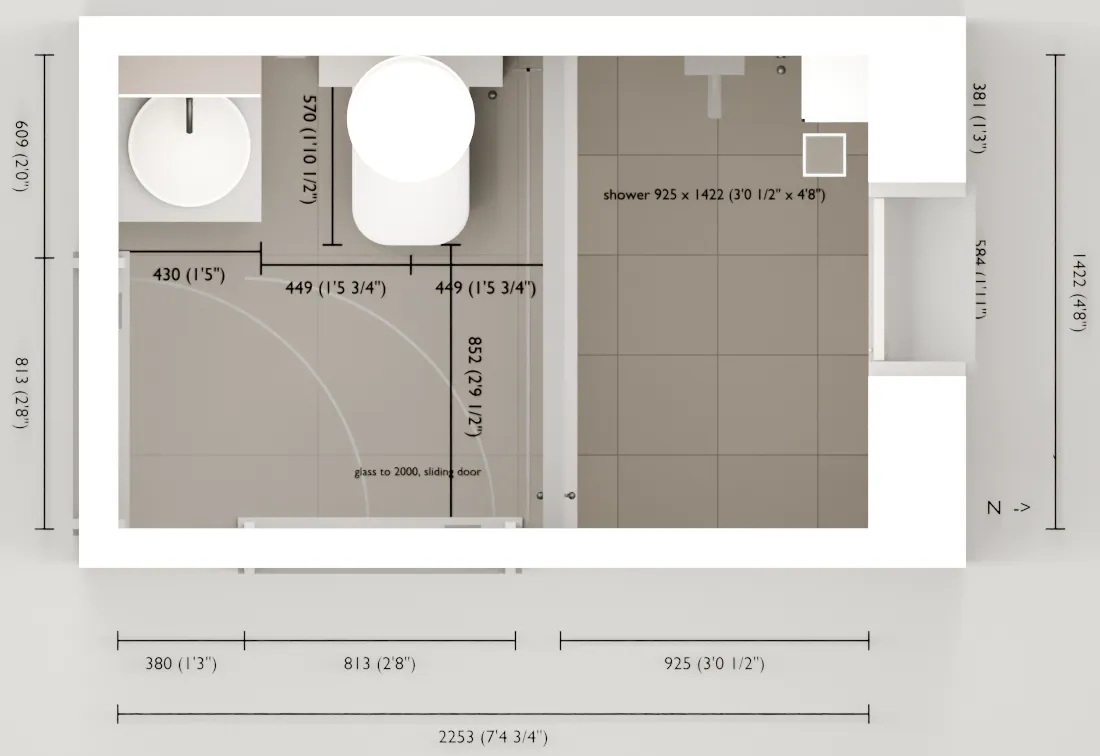
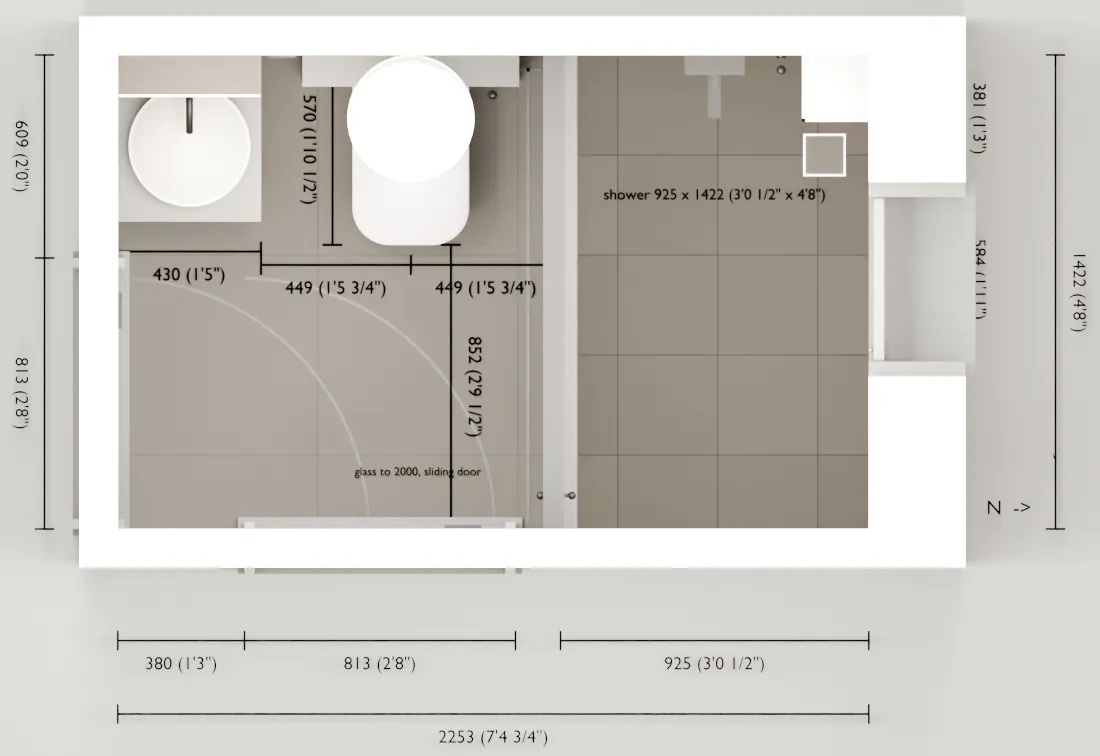
Thirteen versions of one small bathroom.
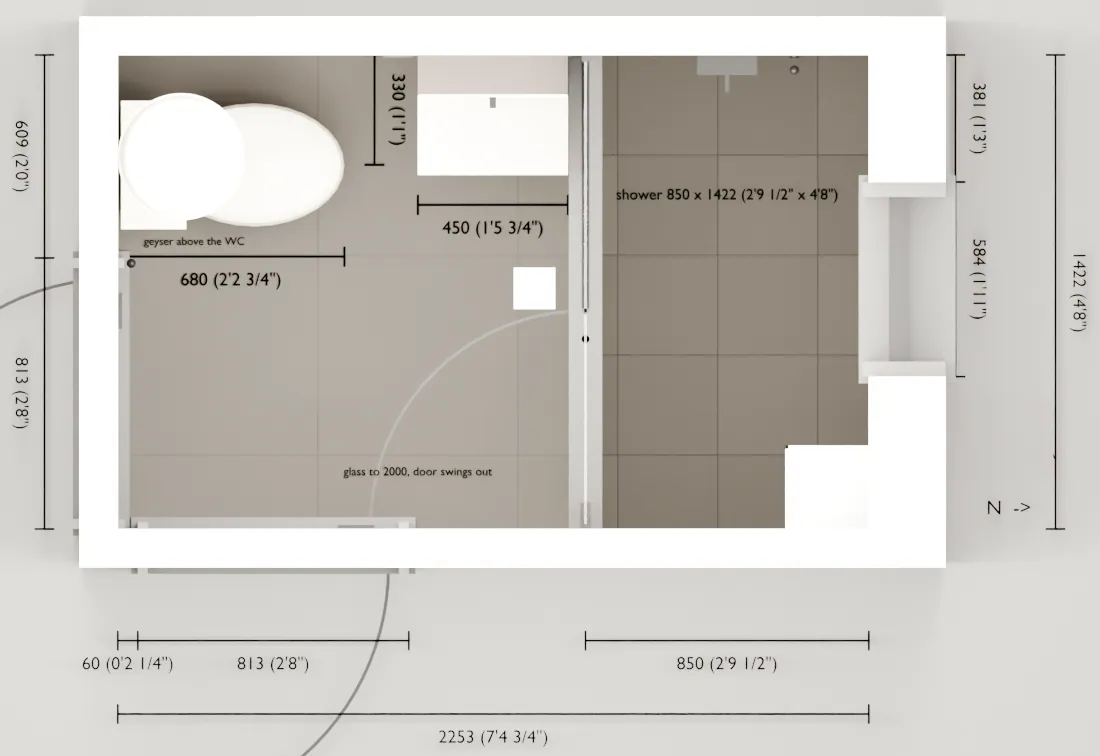
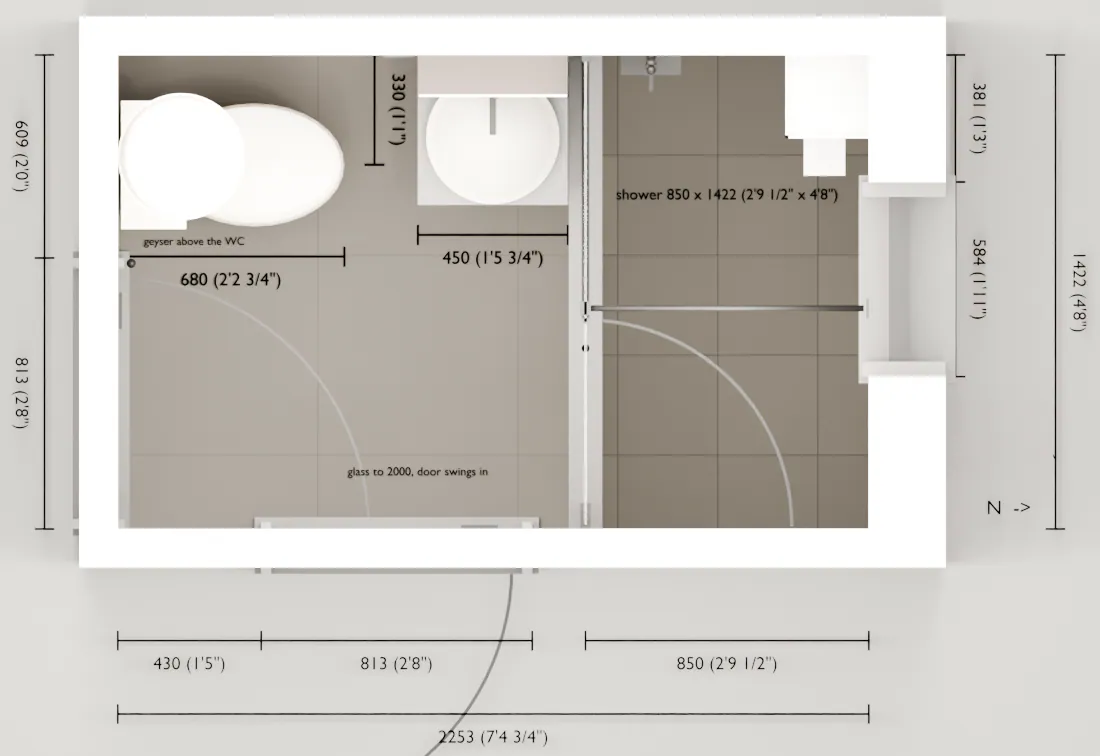
Each note went back into the model, and each change was checked again for clearance before the next round. Step through them.
What changed
- Version 1
The first model, straight from the site measurements. Every fixture placed and every clearance checked.
- Version 2
The glass door now opens into the shower, so it never blocks the second door. A stone slab replaces the wall-hung basin.
- Version 3
The bar across the glass goes. The mixer moves back to the side wall, and the shelves move to the far corner.
- Version 4
The second door now swings into the room. The WC goes wall-hung, with its cistern hidden in a tiled ledge.
- Version 5
The door is hinged on the other side. The floor drain tucks under the basin cabinet.
- Version 6
Too little legroom. A shorter WC and a narrower basin take it from 200 mm (8 in) to 320 mm (12½ in).
- Version 7
The chosen WC, drawn from its spec sheet. It sits deeper, so legroom drops to 280 mm (11 in).
- Version 8
A shorter bowl wins back 50 mm, and the WC shifts towards the door for elbow room.
- Version 9
The cistern frame is set 50 mm into the wall. Legroom is now 380 mm (15 in).
- Version 10
The window stone now sits flush with the tile, so there is no edge in the shower to knock an elbow on.
- Version 11
The WC and basin swap places. The shower gets 75 mm deeper, and the WC gets 449 mm (17¾ in) clear on each side.
- Version 12
The basin top deepens to fit the chosen basin, and the hinged glass becomes a sliding door. Nothing swings in the shower now.
- Version 13
The WC ledge widens to fit the chosen cistern frame. Legroom and side clearances stay exactly as they were.
Render and drawing
The render shows the feel. The drawing carries the numbers.
Every render comes with the drawings to build it, one set per trade.

Concept designs
A few rooms, rendered.
Concept designs from our in-house 3D pipeline. Every room on this page is a render, not a photograph.


What you get
Everything the build needs, in one set.
You keep all of it, and every trade works from the same numbers.
- Stills
- Photoreal views from your real eye lines, in daylight and in the evening.
- Drawings
- Plans and elevations for each trade, in mm and ft-in.
- Cut lists and finish maps
- Every panel, its size and its finish, listed per trade.
- Site sequence
- Which trade goes first, and what each one needs from the one before.
- Automation, if you want it
- Lighting scenes, switches and wiring designed into the room from day one.
Have a room in mind? Let's plan it.
Send a few photos and rough measurements to info@thydarkhour.com. We take it from there.